Category Archives: mod podge

Cre8time Project – Business Card Holder

Standard

I was introduced  to cre8time at the CHA Canada retreat in November. What a FANTASTIC concept:

It’s time to reclaim our creativity! It is designed to help people recover eight hours a month and devote it to their particular craft, and to create a place for them to share their experiences – the joys, lessons, and results – with the creative community at large.  (http://www.cre8time.org/about)

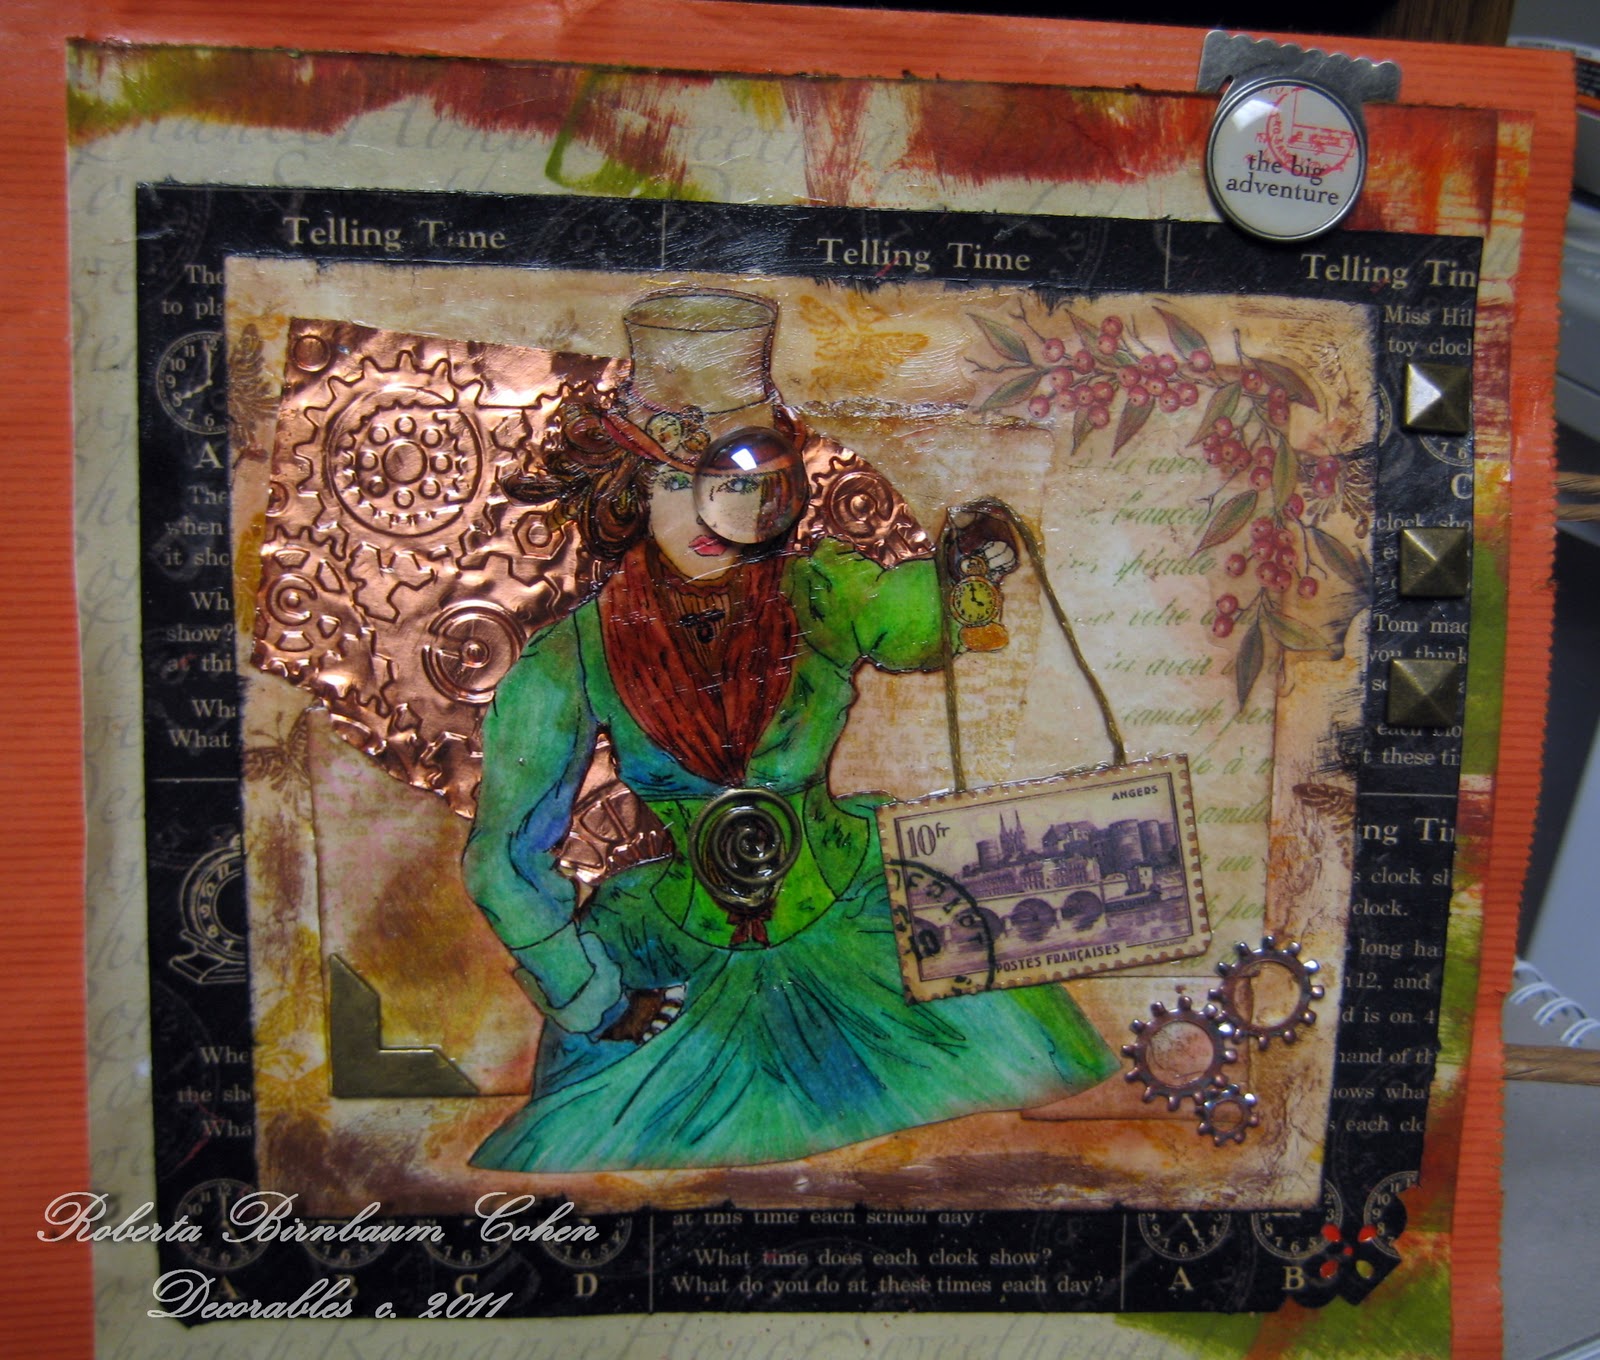
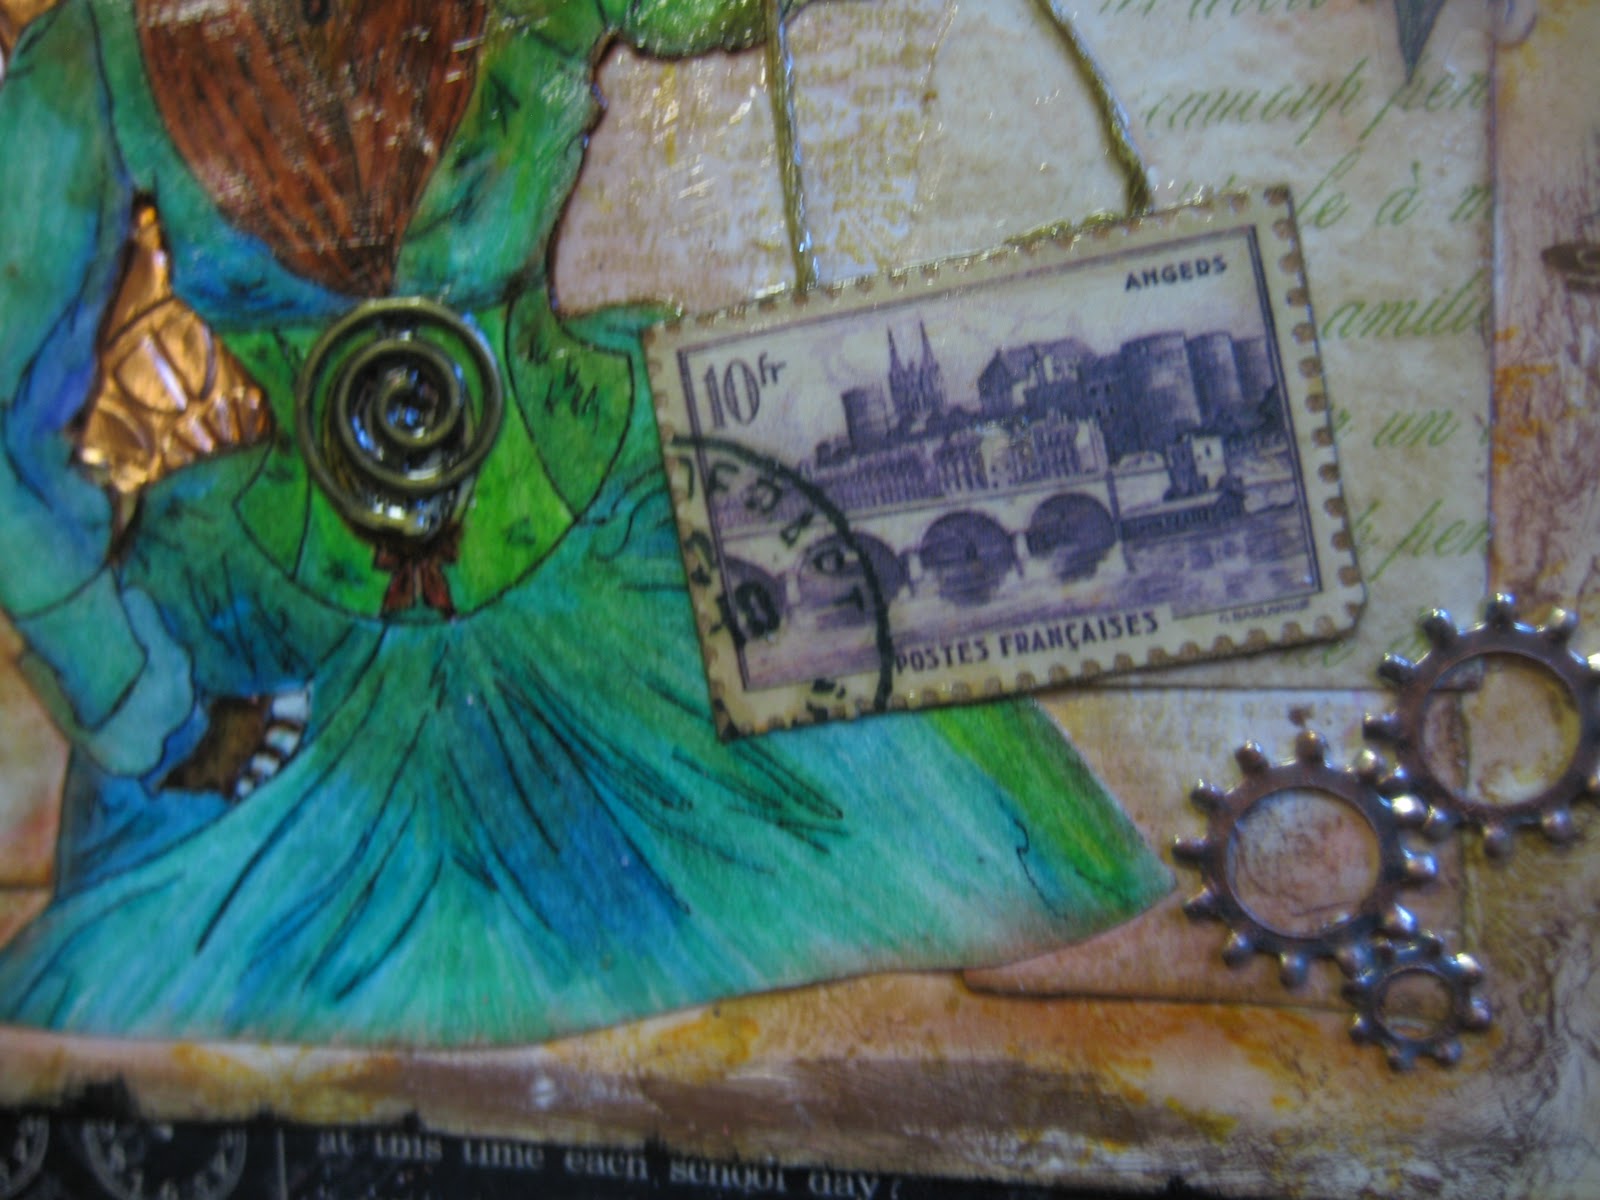
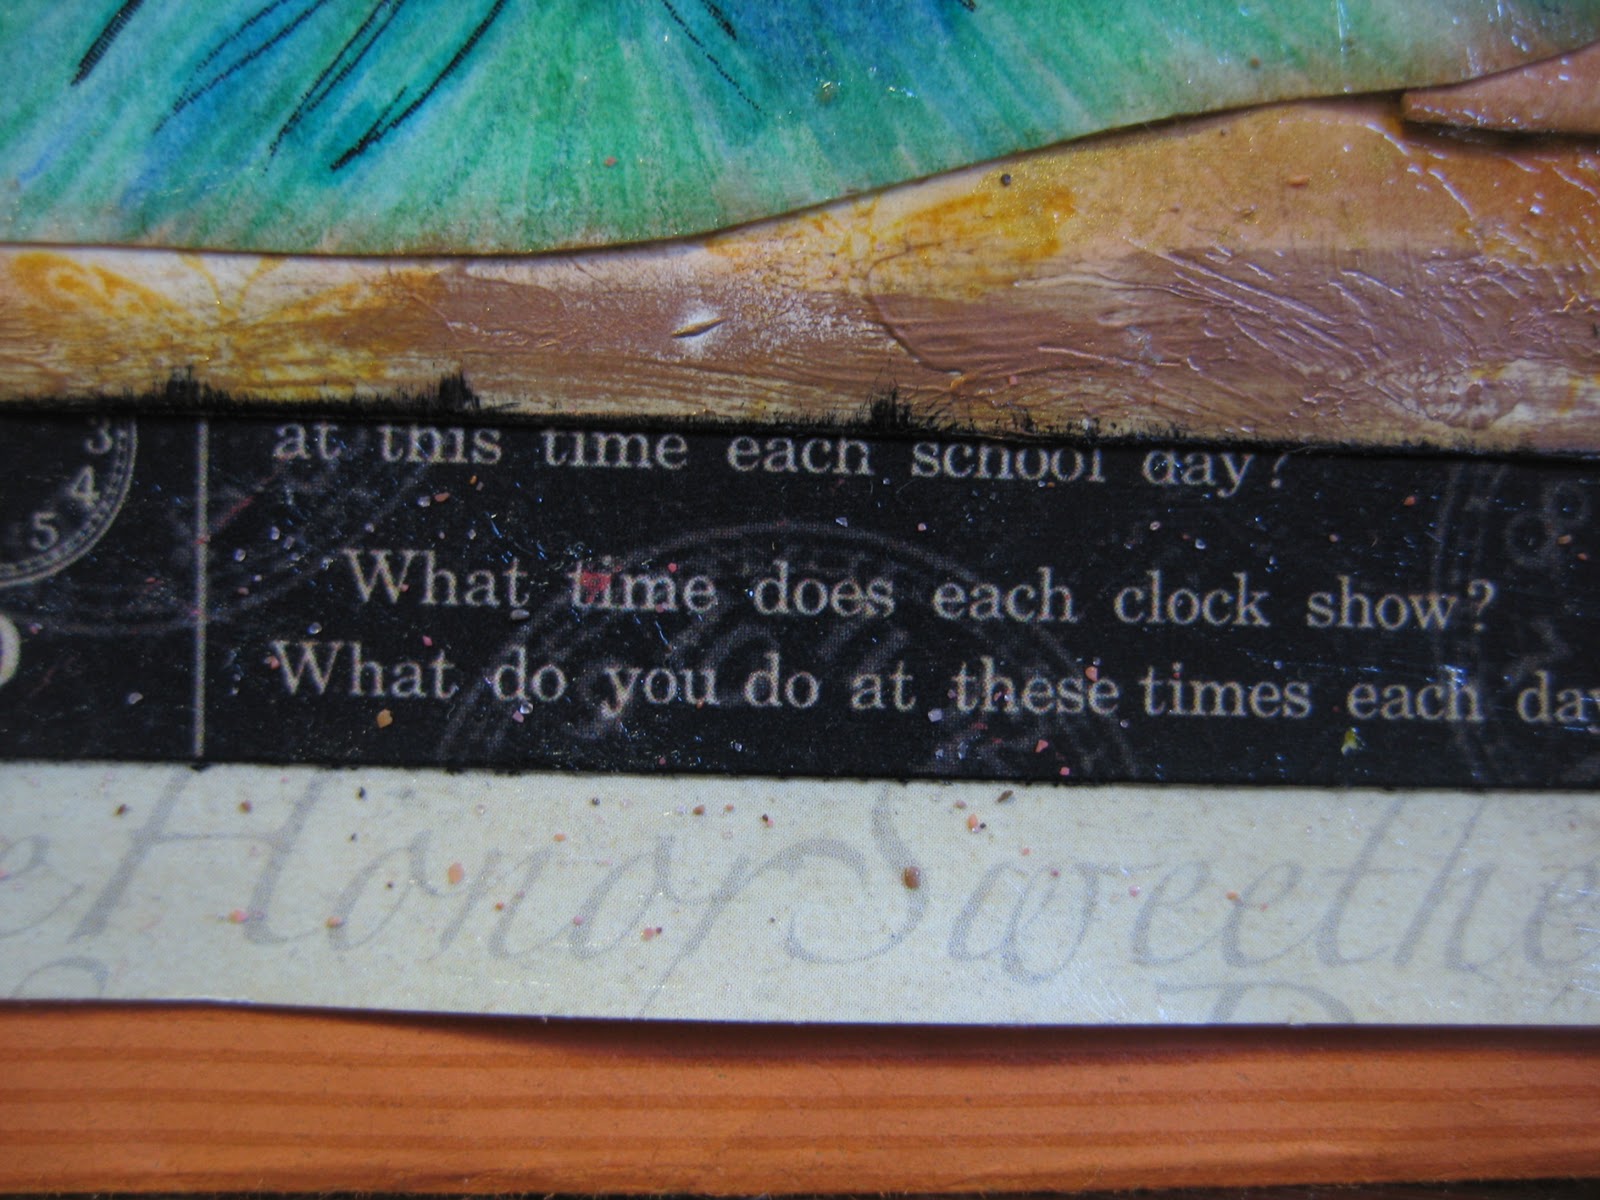
We were handed a naked acrylic business card holder, a green tub of buttons,bling and boys (seriously, there were little human figures), a tube of Beacon‘s glue and 8 minutes to deck out our holders. By the way, I LOVE timed crafting, or being given a hodge-podge of items and told, ‘CRAFT!’ — I call it Guerrilla Crafting 🙂

I returned home with a spare business card holder and made another one today because I need a new card holder.
This is what I did

In the beginning…


I love my new business card holder. Just a little something I created with my two little hands.
~Roberta

(function(i,s,o,g,r,a,m){i[‘GoogleAnalyticsObject’]=r;i[r]=i[r]||function(){ (i[r].q=i[r].q||[]).push(arguments)},i[r].l=1*new Date();a=s.createElement(o), m=s.getElementsByTagName(o)[0];a.async=1;a.src=g;m.parentNode.insertBefore(a,m) })(window,document,’script’,’//www.google-analytics.com/analytics.js’,’ga’); ga(‘create’, ‘UA-46268946-1’, ‘decorablesart.com’); ga(‘send’, ‘pageview’);

Roberta Recommends: Craft Products I Love

Standard

I have been working on this series for quite a while now and  I am very pleased to be able to finally share it on my blog.  Teaching at Michaels made me aware that many people didn’t know ( staff and customers included) what they needed or what tool does what. I realized that I had been building my own personal preference list and that it could prove helpful to my friends, readers, students and co-workers.  

Each week I will feature 3 – 5 products I love and highly recommend.  I have not been provided with nor paid to promote any of these items.

Week 1 – Adhesives – GLUE

Next week I will continue with adhesives; there are several I really like and each one has its own unique characteristic.

~Roberta

Mod Podge DOES Rock!

Standard

For 3 hours yesterday I played with the newest additions to Mod Podge’s awesome line of products!

Being a Certified Scrapbook and Paper-Ed Instructor at Michaels I enjoy MANY perks and one activity I LOVE, is doing a demo or MITI (Make It Take It) aka ‘Make & Take’. It was a pleasure meeting so many new people and introducing them to the new ‘Mod Podgeable’ shapes, papers and peripheral items created by the awesome Cathie Filian and Steve Piacenza.

There was a fair bit of layering involved (FUN!) and then adding even more dimension by decorating the front of the shape and enhancing with Mod Podge Dimensional Magic(available in clear, silver, and gold).

 Great Big Shapes to Decorate!

 Thank you for stopping by!
~Roberta


New Digi Image – Steampunk theme for Addicted to Stamps

Standard

If it’s Wednesday, it must be STAMP RELEASE DAY at Addicted-to-Stamps.  I loved working with my image this week; it is called Hunting Time by Heather Kilgore. If you are interested in purchasing this image, you may find the details HERE


I like to print out my image using my laser printer, onto card stock.  To be honest, I often print out several and experiment with the first and usually complete the second, but just in case, I have a backup readily available.
Using markers and pencils I coloured in the image. I used chalk for her face.

SPECIAL TIPWhen I use watercolour pencils (like Inktense or Staedtler Aquarells) and if I am working in a ‘small space’, instead of water, I use a fine blending marker.(Martha Stewart has one).  It gives the same effect, without water,  and I maintain total control. 

Once my colouring was complete I sprayed my image with a fixative (Grumbacher matte).  This gives me the added confidence to proceed enhancing my image without fear of destroying it! lol

To prepare the card stock I was gluing the image to, I decoupaged some ephemera and distressed with inks. Taking a small piece of cooper sheeting, I used my Cuttlebug to emboss it with gears and used Mod Podge to attach it..  The image was then decoupaged onto the card stock. 
To enhance the belt , which had a spiral look, I grabbed a spiral brad and stuck it through her stomach!
I think the little ‘gears’ in the bottom right corner nicely balanced the picture. The gears are washers from Harbor Freight, which I enhanced with copper ink. A few extra brass hardware stickers were also used.

My final touch was the clear stone I placed over her eye.  I wanted to really emphasize her eye while also giving the appearance of a monocle. — I know: I’m strange.

There are 2 different scrapbook pages used for matting, and the final touch: attaching the whole thing to a brilliant pumpkin spice coloured gift bag. which will be the front cover of a new paper bag book!

Thank you for stopping by!
~Robi

Circle Journal

Standard

I am participating in my first circle journal with 12 other artists.  I’m under a kind of ‘publication ban’ – lol – by the group because we want to keep our creations under wraps until we see them when they arrive at our homes. For the uninitiated (like I was ) we each make a journal ( cover and inside pages). We each decorate our own covers and the first double-page spread.
For my journal I chose to use 90 lb cold press watercolour paper for the cover, and 200 lb 


warm press paper for 
the actual pages.  This paper is incredibly durable and I loved using it for this project.
I sealed the front cover with Mod Podge and Liquitex gel medium.  


For the back inside cover I used decorative duct tape.


I am kind of sad sending my little journal off into the world and can’t wait to get it back (maybe in about 6 months) when all the participating artists will have decorated 2 pages each and my journal will be a work of art from around the world ( yes, this is a truly International, Trans-continental endeavour.).


Thank you for stopping by!
~Robi
Decorables

Sassy Lassy Meets Sue!

Standard
Multi-media tile. Image courtesy Sue Miller Art

 It’s been ‘multi-media’ week around here; I don’t remember the last time I made a ‘simple card’.  My brain has been in hyper-drive with lots of new and fantastical ideas and I am not getting a lot of sleep. Here is the latest  multi-media ’tile’ I finished (today).
This tile is made using a 71/2 square inch corrugated cardboard packing divider.

I gave it a few coats of Liquitex and then began my collage. The black part on the canvas is xray film which I layered over cocktail napkins and patterened paper.  The xray film is SO cool because it is a different surface, it has varying degrees of opacity, and it loves alcohol inks.

The image is from Sue Miller.  Sue has a wonderful set of Art Postcards which (I think) are an incredible deal.  The raised square to the left of our pretty maiden is a tiny wood tile which I decoupaged with the matching cocktail napkin ( only use the printed ply).
I can now use this as a topper for a large card/frameable art, or as a stand-alone piece of art.  I like working on this thick cardboard, or chipbaord first because it allows me to take my time finalizing its ultimate purpose.
Thank you for stopping by,
~Roberta
table, tr, td, li, p, div {font-family:Papyrus; color:000000; font-size:15px;}.btext {font-family:Papyrus; color:000000; font-size:15px;}.blacktext10 {font-family:Papyrus; color:000000; font-size:15px;}.blacktext12 {font-family:Papyrus; color:000000; font-size:15px;}.lightbluetext8 {font-family:Papyrus; color:000000; font-size:15px;}.orangetext15 {font-family:Papyrus; color:000000; font-size:15px;}.redtext {font-family:Papyrus; color:000000; font-size:15px;}.redbtext {font-family:Papyrus; color:000000; font-size:15px;}.text {font-family:Papyrus; color:000000; font-size:15px;}.whitetext12 {font-family:Papyrus; color:000000; font-size:15px;}a:active, a:visited, a:link {font-family:Papyrus; color:000000; font-size:15px;}a:hover {font-family:Papyrus; color:000000; font-size:15px;}a.navbar:active, a.navbar:visited, a.navbar:link {font-family:Papyrus; color:000000; font-size:15px;}a.navbar:hover {font-family:Papyrus; color:000000; font-size:15px;}a.redlink:active, a.redlink:visited, a.redlink:link {font-family:Papyrus; color:000000; font-size:15px;}a.redlink:hover {font-family:Papyrus; color:000000; font-size:15px;}.nametext {font-family:Papyrus; color:000000; font-size:15px;}


Patches of Pink
…AND this is my first link-up with Patches of PInk:)
Thanks for stopping by,
~Robi