Category Archives: decoupage

Clearance Item Gifts: Marry Christmas!

Standard

I fell in love with these David Tutera wedding tissues and of course immediately thought, ” DECOUPAGE!”

Well, to be honest, my original purpose was to use them for a deoupaged background for a board I am making for my son’s upcoming wedding. They were being clearanced at my Michaels store. 

And then I spotted the most fabulous ‘Bling on a Roll‘, also on clearance, and then I got to thinking….

What a beautiful gift for the newlyweds on their first Christmas!

Now, as you can see, I did not decoupage this ornament! Except for the bling on the cap this ornament is glue-free!
Supplies:

One glass ornament (clearance; purchased in pack of 6)
3 David Tutera tissues ( these are 3-ply and you only use the one sheet with the writing on it)
1 8″ single line of Bling on a Roll (for inside)
1 2″ double line of Bling on a Roll (to adorn cap)
DecoArt decoupage medium


One at a time, insert tissue into ornament. Keep the same direction 

Use end of paintbrush to help even out paper and puff it up.

Carefully insert single line of bling and use end of brush to help guide it from the tip, up and around the top, and down the other side.

Replace cap
Coat the perimeter of the cap with DecoArt decoupage medium,  apply double line of bling and hold till adhered. This only takes a few minutes.

 And voila!

Tomorrow: More Clearance Item Gifts!

Sneak Peak

~Roberta

Resin Time is Anytime; ETI Resin Project

Standard

A little while ago I shared a project I worked on for a CHA installation created by Carmi Cimicata for ETI Resin.

Over 80 bezels were created for the Resin Time is Anytime project.

I was recently given the opportunity by the amazing Carmi Cimicata

to participate in a project for the CHA2014 Mega Show.

Carmi sent out these beautiful watch bezels and asked us to make whatever we wanted with them. Because I had the best resin teacher in the world, I wanted to create something I would love, but also something that I hoped would make Carmi proud of the impact she had on my creativity!

Into my bezel I placed: one vintage postage stamp, 5 amber crystals, and black quilled paper.  All the paper was given 3 coats of DecoArt decoupage medium to properly seal and protect the paper from the unforgiving elements of the resin. The crystals are also chosen carefully because plastic embellishments can/may disintegrate once the resin is poured.
Once the resin (I used ETI  Envirotex Lite resin) was cured for 48 hours I added the little hand (Recollections? embellishment perhaps) with Beacon’s 3-in-1 glue. This glue is wonderful because it dries quickly and clear for a strong blond.
I added the hand as my take on a ‘clock hand’.

The patina was added with a combination of  StudioG chalk ink (Michaels), Clearsnap  green Smooch, and a little silver Rub n Buff.
What fun!

And here is Carmi’s post with my submission. Please check out all the stunning submissions and explore Carmi’s blog.

~Roberta

(function(i,s,o,g,r,a,m){i[‘GoogleAnalyticsObject’]=r;i[r]=i[r]||function(){ (i[r].q=i[r].q||[]).push(arguments)},i[r].l=1*new Date();a=s.createElement(o), m=s.getElementsByTagName(o)[0];a.async=1;a.src=g;m.parentNode.insertBefore(a,m) })(window,document,’script’,’//www.google-analytics.com/analytics.js’,’ga’); ga(‘create’, ‘UA-46268946-1’, ‘decorablesart.com’); ga(‘send’, ‘pageview’);

Cre8time Project – Business Card Holder

Standard

I was introduced  to cre8time at the CHA Canada retreat in November. What a FANTASTIC concept:

It’s time to reclaim our creativity! It is designed to help people recover eight hours a month and devote it to their particular craft, and to create a place for them to share their experiences – the joys, lessons, and results – with the creative community at large.  (http://www.cre8time.org/about)

We were handed a naked acrylic business card holder, a green tub of buttons,bling and boys (seriously, there were little human figures), a tube of Beacon‘s glue and 8 minutes to deck out our holders. By the way, I LOVE timed crafting, or being given a hodge-podge of items and told, ‘CRAFT!’ — I call it Guerrilla Crafting 🙂

I returned home with a spare business card holder and made another one today because I need a new card holder.
This is what I did

In the beginning…


I love my new business card holder. Just a little something I created with my two little hands.
~Roberta

(function(i,s,o,g,r,a,m){i[‘GoogleAnalyticsObject’]=r;i[r]=i[r]||function(){ (i[r].q=i[r].q||[]).push(arguments)},i[r].l=1*new Date();a=s.createElement(o), m=s.getElementsByTagName(o)[0];a.async=1;a.src=g;m.parentNode.insertBefore(a,m) })(window,document,’script’,’//www.google-analytics.com/analytics.js’,’ga’); ga(‘create’, ‘UA-46268946-1’, ‘decorablesart.com’); ga(‘send’, ‘pageview’);

Roberta Recommends: Craft Products I Love

Standard

I have been working on this series for quite a while now and  I am very pleased to be able to finally share it on my blog.  Teaching at Michaels made me aware that many people didn’t know ( staff and customers included) what they needed or what tool does what. I realized that I had been building my own personal preference list and that it could prove helpful to my friends, readers, students and co-workers.  

Each week I will feature 3 – 5 products I love and highly recommend.  I have not been provided with nor paid to promote any of these items.

Week 1 – Adhesives – GLUE

Next week I will continue with adhesives; there are several I really like and each one has its own unique characteristic.

~Roberta

Scraps to Treasure

Standard

A shiny sheet of silver paper intrigued me. I ran it through my Cuttlebug but the impression was not very deep so I rummaged through my scrap bin for tissue paper and also found the inside liner from an old envelope — with a most beautiful green toile pattern.


Using Mod Podge I adhered torn pieces of the papers to the silver shiny paper, leaving slight gaps here and there. 
Adding a lovely vintage lady decoupage piece and flower basket, and a rub-on flourish in the top corner, I now have a topper for an altered book cover, greeting card, or addition to a mixed media creation.

You can see hints of silver shining through!

Look at the effect of printing it in black & white! Love it!


Thank you for stopping by,
~Robi
Decorables

New Digi Image – Steampunk theme for Addicted to Stamps

Standard

If it’s Wednesday, it must be STAMP RELEASE DAY at Addicted-to-Stamps.  I loved working with my image this week; it is called Hunting Time by Heather Kilgore. If you are interested in purchasing this image, you may find the details HERE


I like to print out my image using my laser printer, onto card stock.  To be honest, I often print out several and experiment with the first and usually complete the second, but just in case, I have a backup readily available.
Using markers and pencils I coloured in the image. I used chalk for her face.

SPECIAL TIPWhen I use watercolour pencils (like Inktense or Staedtler Aquarells) and if I am working in a ‘small space’, instead of water, I use a fine blending marker.(Martha Stewart has one).  It gives the same effect, without water,  and I maintain total control. 

Once my colouring was complete I sprayed my image with a fixative (Grumbacher matte).  This gives me the added confidence to proceed enhancing my image without fear of destroying it! lol

To prepare the card stock I was gluing the image to, I decoupaged some ephemera and distressed with inks. Taking a small piece of cooper sheeting, I used my Cuttlebug to emboss it with gears and used Mod Podge to attach it..  The image was then decoupaged onto the card stock. 
To enhance the belt , which had a spiral look, I grabbed a spiral brad and stuck it through her stomach!
I think the little ‘gears’ in the bottom right corner nicely balanced the picture. The gears are washers from Harbor Freight, which I enhanced with copper ink. A few extra brass hardware stickers were also used.

My final touch was the clear stone I placed over her eye.  I wanted to really emphasize her eye while also giving the appearance of a monocle. — I know: I’m strange.

There are 2 different scrapbook pages used for matting, and the final touch: attaching the whole thing to a brilliant pumpkin spice coloured gift bag. which will be the front cover of a new paper bag book!

Thank you for stopping by!
~Robi

What Did I Miss on In The Zone – February 7th – & Free Template

Standard

table, tr, td, li, p, div {font-family:Papyrus; color:000000; font-size:15px;}.btext {font-family:Papyrus; color:000000; font-size:15px;}.blacktext10 {font-family:Papyrus; color:000000; font-size:15px;}.blacktext12 {font-family:Papyrus; color:000000; font-size:15px;}.lightbluetext8 {font-family:Papyrus; color:000000; font-size:15px;}.orangetext15 {font-family:Papyrus; color:000000; font-size:15px;}.redtext {font-family:Papyrus; color:000000; font-size:15px;}.redbtext {font-family:Papyrus; color:000000; font-size:15px;}.text {font-family:Papyrus; color:000000; font-size:15px;}.whitetext12 {font-family:Papyrus; color:000000; font-size:15px;}a:active, a:visited, a:link {font-family:Papyrus; color:000000; font-size:15px;}a:hover {font-family:Papyrus; color:000000; font-size:15px;}a.navbar:active, a.navbar:visited, a.navbar:link {font-family:Papyrus; color:000000; font-size:15px;}a.navbar:hover {font-family:Papyrus; color:000000; font-size:15px;}a.redlink:active, a.redlink:visited, a.redlink:link {font-family:Papyrus; color:000000; font-size:15px;}a.redlink:hover {font-family:Papyrus; color:000000; font-size:15px;}.nametext {font-family:Papyrus; color:000000; font-size:15px;} Thank you to our wonderful audience tonight.  I had a great time, and although Cyn was not present and she is not feeling well, and is really missed, I think it went very well 🙂

If you missed the LIVE show, or would like to watch it again, here is the LINK to the Playback room:
SHOW SUMMARY
Vintage Valentine’s Day CardsRobi shared family collection of cards from 1960.

Vintage Shadow Box Pieces – velvet, pearl and semi-precious miniature clothing items taken from a shadow box.
 
Demo 1 – Decorated Paper Bag for giving a  Plant
Demo 2 – Decoupaged styrofoam heart
Demo 3 – Tissue Paper Roses
Giveaway – First-time viewer Bridget won our special Valentine’s Day Prize — 
CONGRATULATIONS B.K.!
FREE TEMPLATE FOR PAPER ROSES – As promised, download the jpeg file if you want to print and then cut out the shape; download the svg file if you want to use your Cricut to cut multiples for you.

Flower Petal Template to Print Out and Cut
Flower Petal svg file to use with a Cricut

Next Week’s Theme is: Sweet Tooth/Sugar Shack!!!
Please join us next Monday 9 pm EST on the Creative EdVentures Network  

Please don’t tell my paint chips but…. Part One

Standard
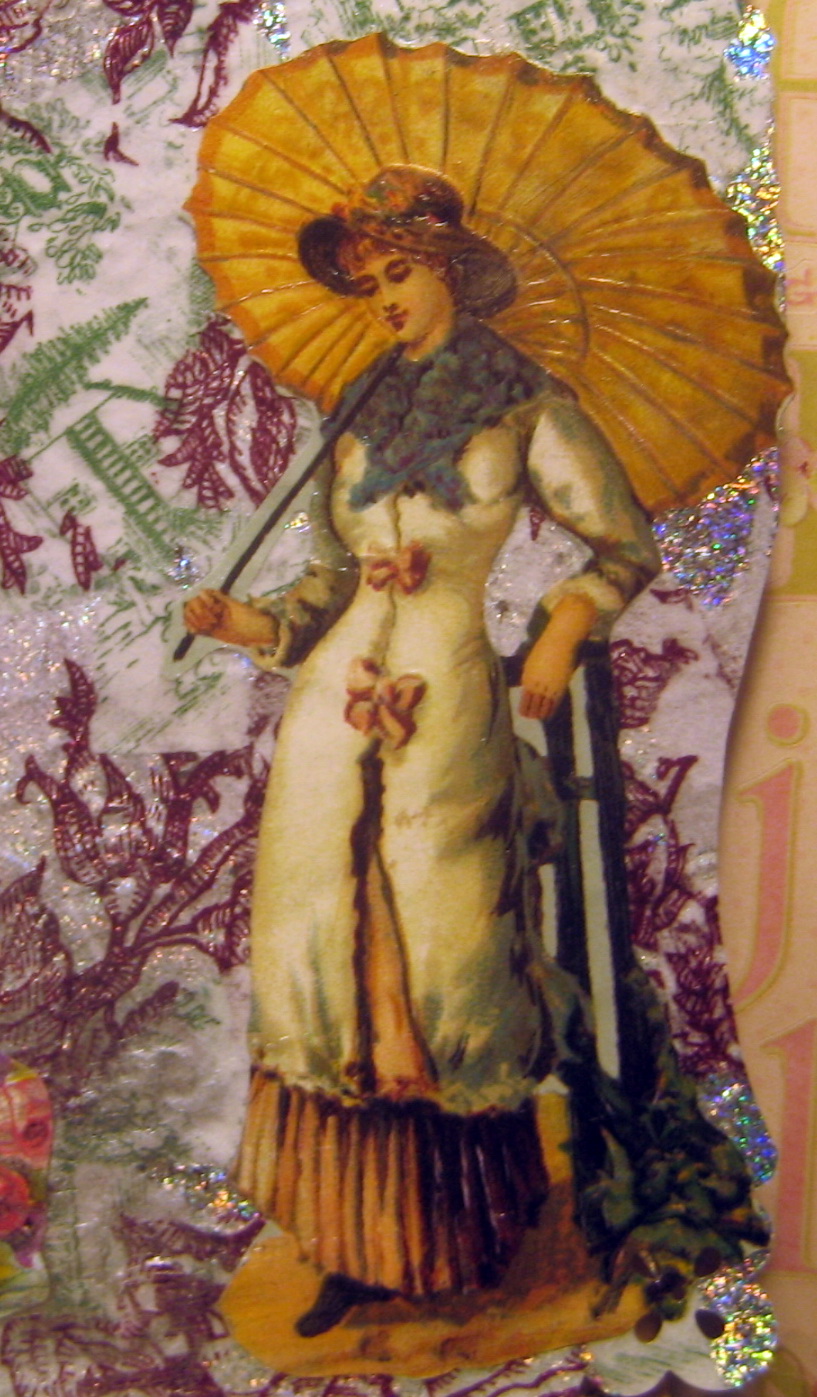
It’s time for another confession.
I have been unfaithful.  PLEASE don’t judge me….

On my recent trip to Lowes, I left my beloved paint chips on one side of the aisle, and I crossed over — to the kitchen department and the countertop ‘chips’.   

Wood grain, granite, marble — matte or glossy finish — lots of possibilities.
I chose 6 or so samples to start with, and took 2 of each;  I wasn’t sure if I was going to put them back-to-back, or just use it as a single, or if I was going to work on the finished or backside of the sample.

The hole would make it perfect for a tag or ornament and I was undecided if I would use pretty wires or ribbons or yarn.  I could worry about that later:)
Looking at the finishes, I knew I would have to deal with the glossy/finished surfaces depending on what I wanted to embellish them with.  I discovered quite quickly that using paint required priming with a primer or sanding the surface.  Sanding a pretty surface would defeat the purpose,(and I’m a poet and just don’t know it)… anyway…..  on to my first project…. 

table, tr, td, li, p, div {font-family:Papyrus; color:000000; font-size:15px;}.btext {font-family:Papyrus; color:000000; font-size:15px;}.blacktext10 {font-family:Papyrus; color:000000; font-size:15px;}.blacktext12 {font-family:Papyrus; color:000000; font-size:15px;}.lightbluetext8 {font-family:Papyrus; color:000000; font-size:15px;}.orangetext15 {font-family:Papyrus; color:000000; font-size:15px;}.redtext {font-family:Papyrus; color:000000; font-size:15px;}.redbtext {font-family:Papyrus; color:000000; font-size:15px;}.text {font-family:Papyrus; color:000000; font-size:15px;}.whitetext12 {font-family:Papyrus; color:000000; font-size:15px;}a:active, a:visited, a:link {font-family:Papyrus; color:000000; font-size:15px;}a:hover {font-family:Papyrus; color:000000; font-size:15px;}a.navbar:active, a.navbar:visited, a.navbar:link {font-family:Papyrus; color:000000; font-size:15px;}a.navbar:hover {font-family:Papyrus; color:000000; font-size:15px;}a.redlink:active, a.redlink:visited, a.redlink:link {font-family:Papyrus; color:000000; font-size:15px;}a.redlink:hover {font-family:Papyrus; color:000000; font-size:15px;}.nametext {font-family:Papyrus; color:000000; font-size:15px;}

Thanks to Tiffany Windsor I fell in love with texture magic. Tiffany loves working with this product and has demonstrated many projects using it.  I purchased a tube from Michaels (with my 50% off coupon because God forbid I pay full retail) and decided to give it a whirl.
I used one of my (MANY) Fiskars embossing templates for the fleur de lis pattern.
Texture Magic – cashmere colour.  I wanted a whiter colour but this was all that was in stock at the time.
I was curious to see how embossing powder would work out on a glossy surface and discovered it was perfect but I wasn’t pleased with just that pink pattern, so that is when I whipped out the Texture Magic and made the fleur de lis.

You can better see the pink embossing I did under the fleur de lis.  Also, I embossed “For You” on the sample on the right.
 
Drying — Yes, they are hanging from a water glass.  I found that by attaching wire I could hang them anywhere and even bend it to prop up the samples as I worked on them.

Works in Progress —  Various techniques I am using:
Paint chips decoupaged, paper flower embellished with 3D Laquer, wire, acrylic paint.
Punched flowers decoupaged, paint, alcohol inks

Decoupage, rubber stamp, paint, alcohol ink

Acrylic paint, flocking, alcohol inks, embossing, wire,stamp


Silver decorative wire mesh, glitter.

Please Stay tuned for the finished products………..


Recipe for creation:

Adirondack inks: Purple Twilight,Sunset Orange,Sunshine Yellow
Adirondack ink Mixatives: Copper,Pearl
Anita’s Acrylic Paints:11062 Periwinkle, 11075 Honeydew
Liquitex Gloss Varnish
Martha Stewart Holidays tinsel glitter
Martha Stewart Decoupage Glue
Sakura 3D Crystal Lacquer
Fiskars Heritage template 5621
Silver jewellery wire
Paint chips
Rubber stamps
Crystal embellishments
Fiskars flower punch
Martha Stewart white flocking 
Delta Texture Magic – Cashmere
And YES, if you were paying attention I managed to work in some beloved paint chips:)