Category Archives: copper

New Digi Image – Steampunk theme for Addicted to Stamps

Standard

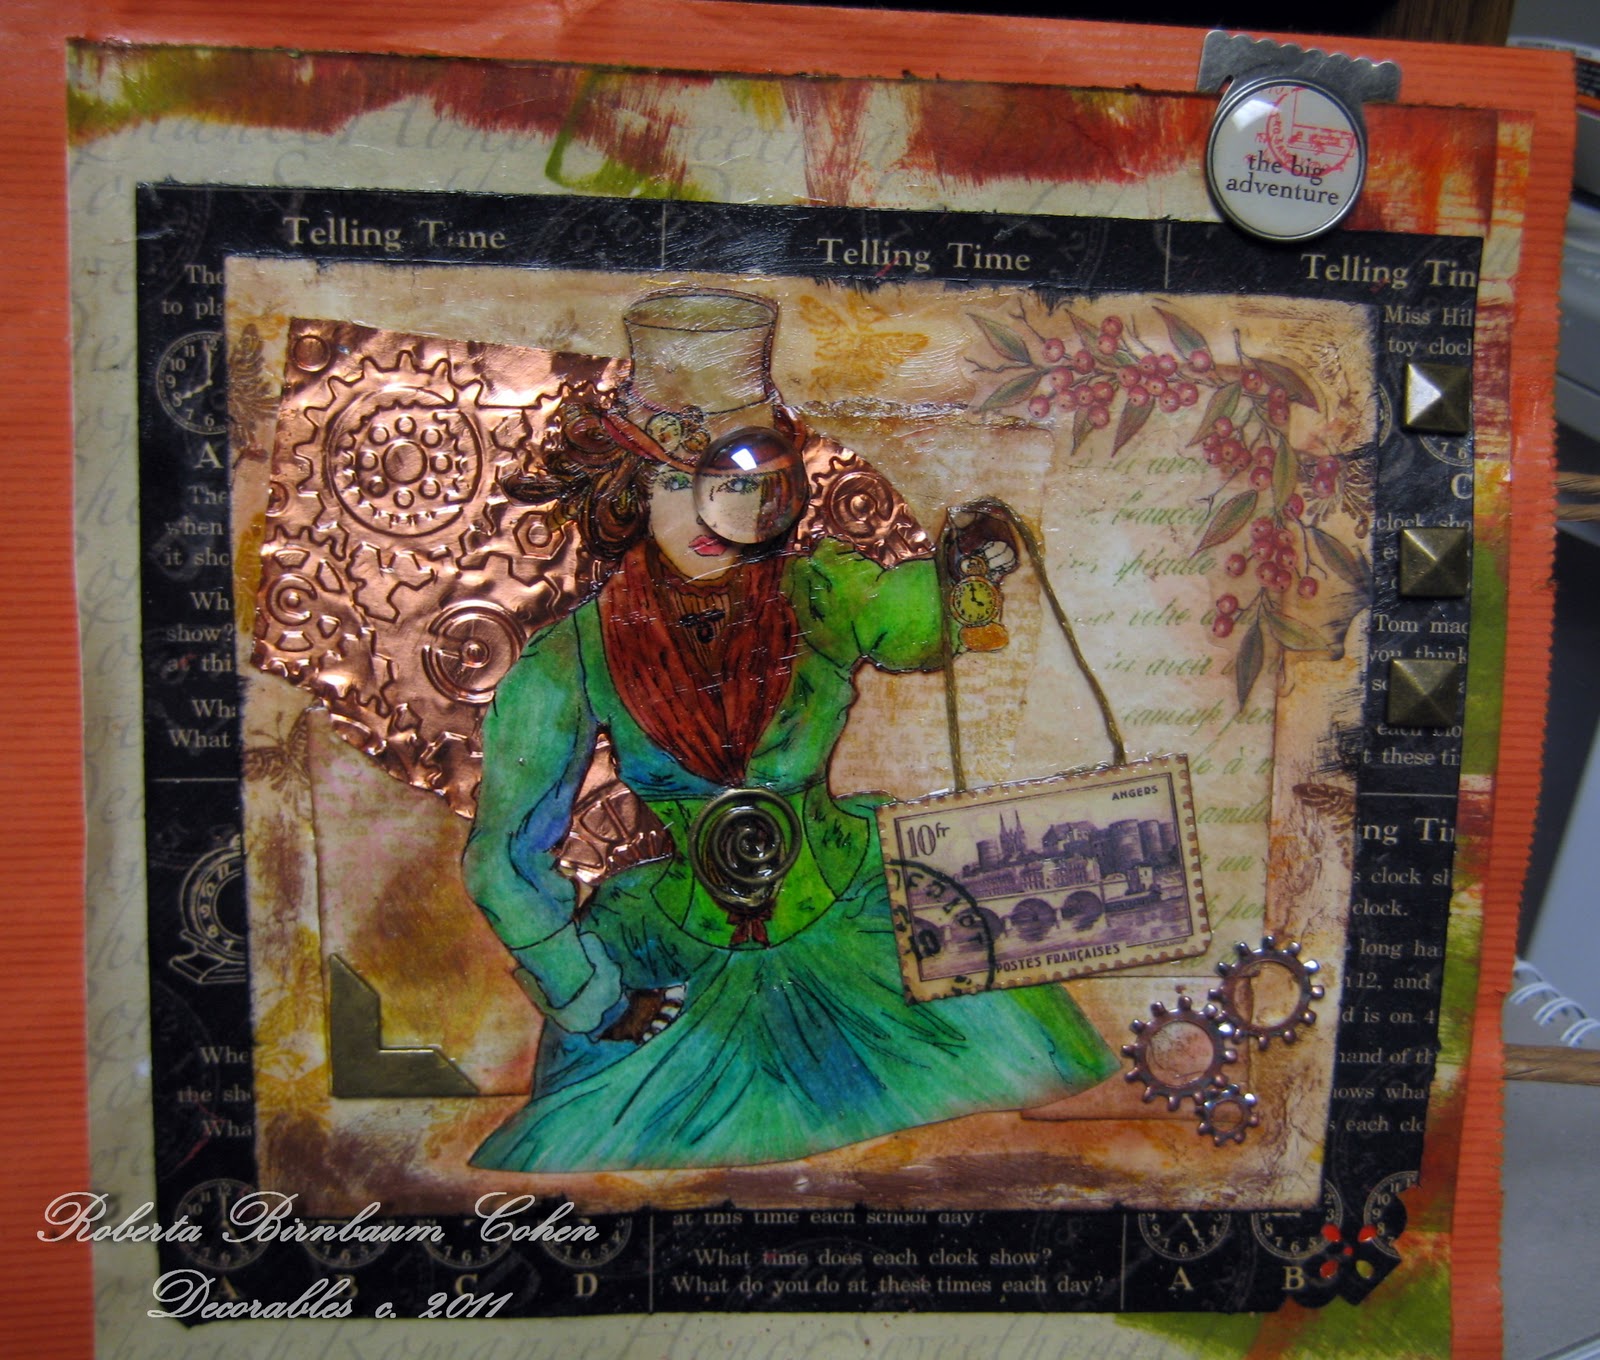
If it’s Wednesday, it must be STAMP RELEASE DAY at Addicted-to-Stamps.  I loved working with my image this week; it is called Hunting Time by Heather Kilgore. If you are interested in purchasing this image, you may find the details HERE


I like to print out my image using my laser printer, onto card stock.  To be honest, I often print out several and experiment with the first and usually complete the second, but just in case, I have a backup readily available.
Using markers and pencils I coloured in the image. I used chalk for her face.

SPECIAL TIPWhen I use watercolour pencils (like Inktense or Staedtler Aquarells) and if I am working in a ‘small space’, instead of water, I use a fine blending marker.(Martha Stewart has one).  It gives the same effect, without water,  and I maintain total control. 

Once my colouring was complete I sprayed my image with a fixative (Grumbacher matte).  This gives me the added confidence to proceed enhancing my image without fear of destroying it! lol

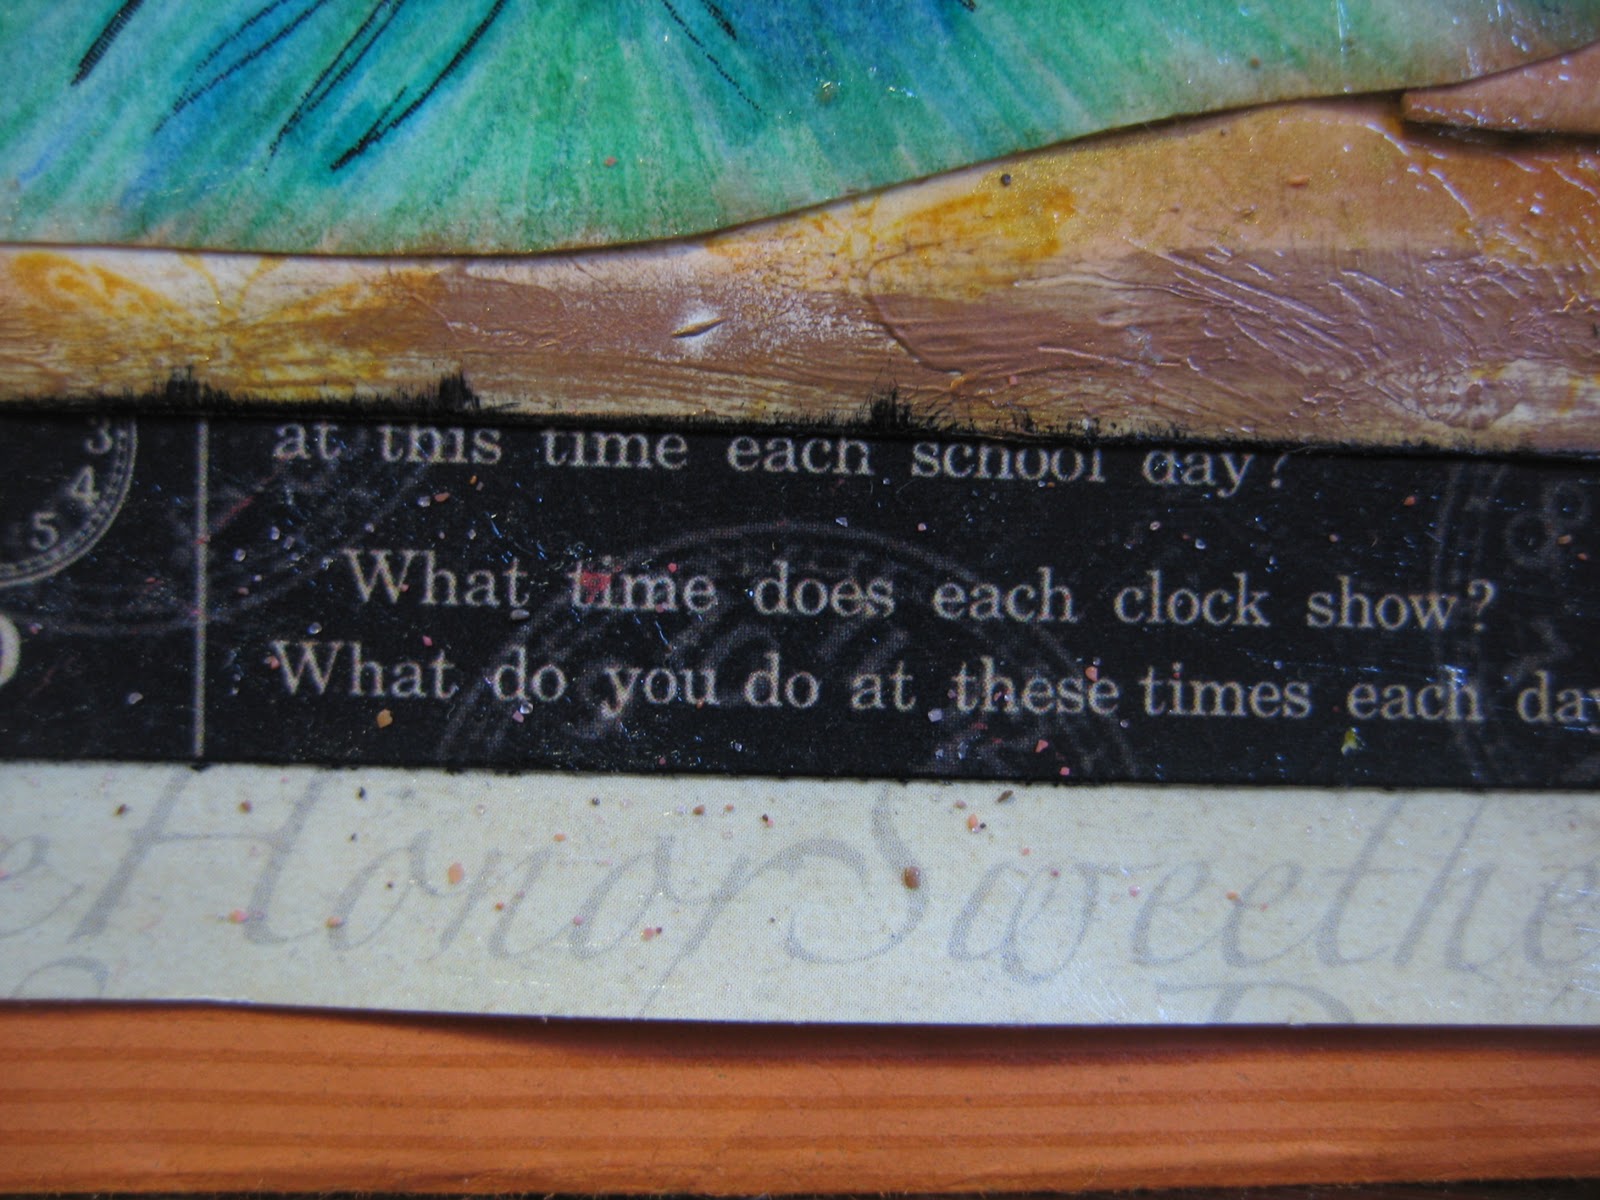
To prepare the card stock I was gluing the image to, I decoupaged some ephemera and distressed with inks. Taking a small piece of cooper sheeting, I used my Cuttlebug to emboss it with gears and used Mod Podge to attach it..  The image was then decoupaged onto the card stock. 
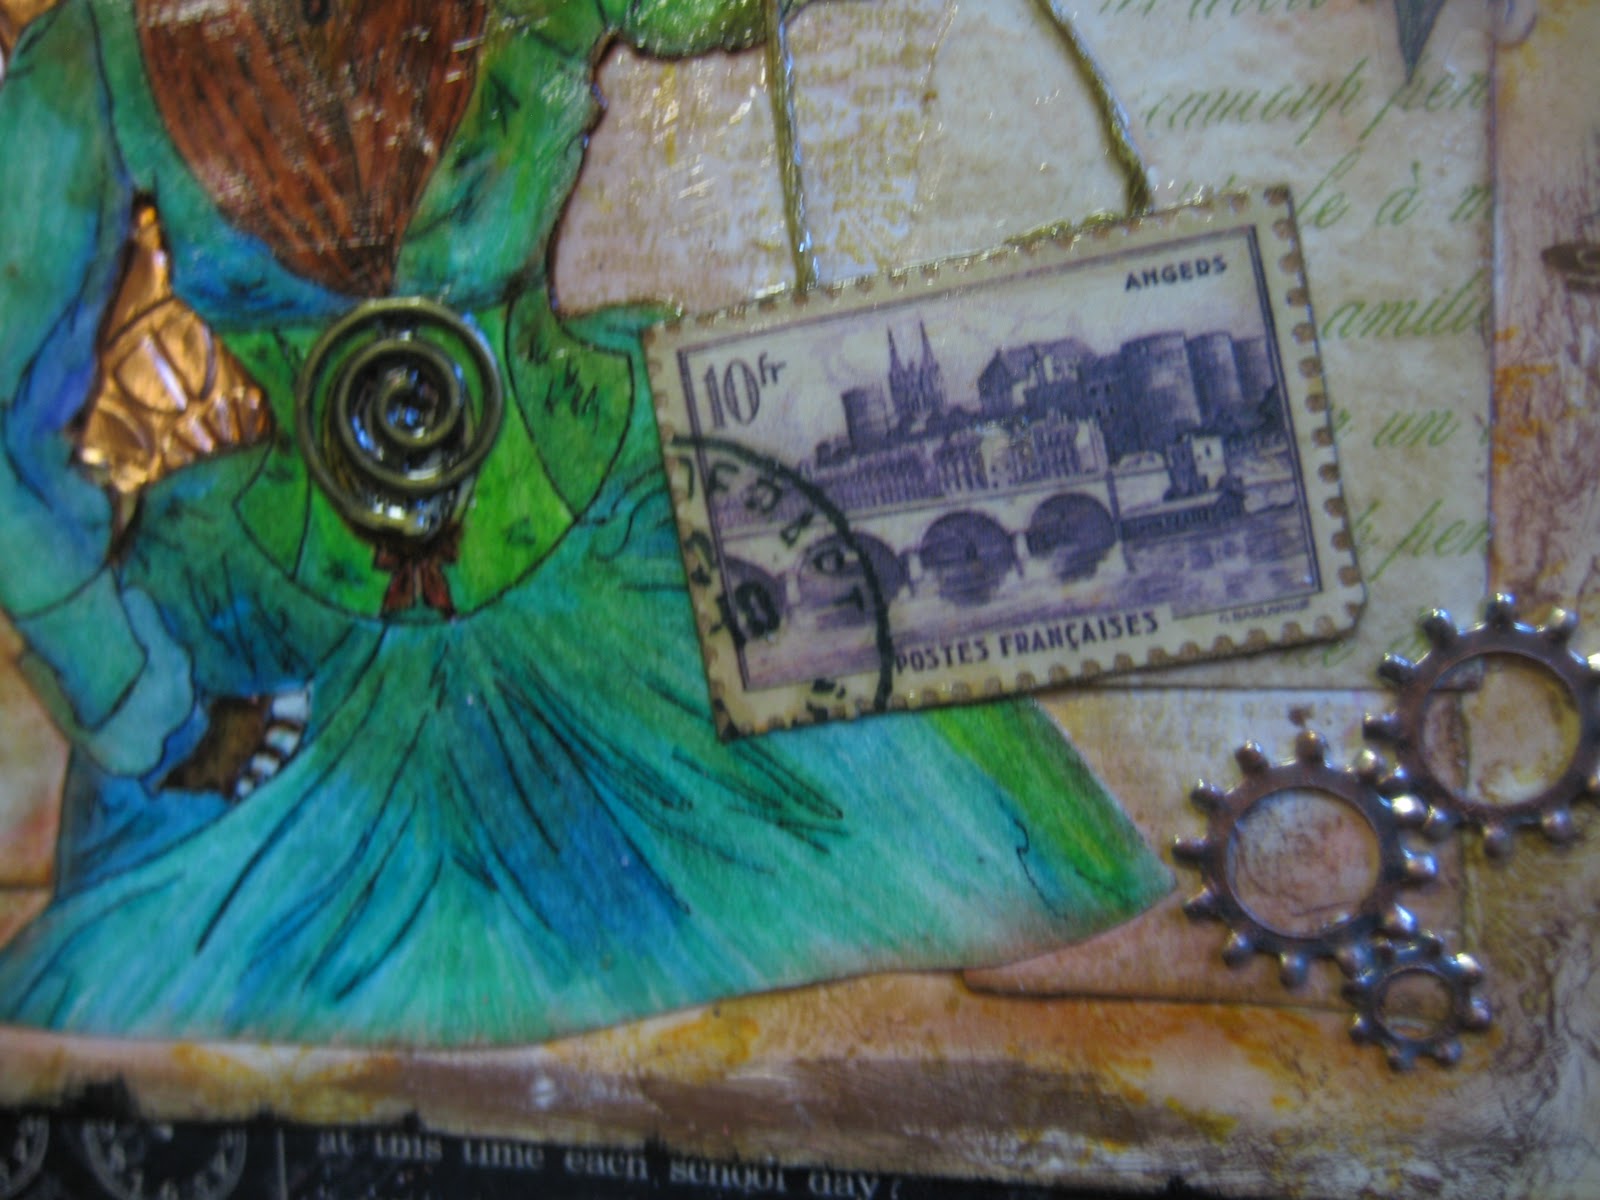
To enhance the belt , which had a spiral look, I grabbed a spiral brad and stuck it through her stomach!
I think the little ‘gears’ in the bottom right corner nicely balanced the picture. The gears are washers from Harbor Freight, which I enhanced with copper ink. A few extra brass hardware stickers were also used.

My final touch was the clear stone I placed over her eye.  I wanted to really emphasize her eye while also giving the appearance of a monocle. — I know: I’m strange.

There are 2 different scrapbook pages used for matting, and the final touch: attaching the whole thing to a brilliant pumpkin spice coloured gift bag. which will be the front cover of a new paper bag book!

Thank you for stopping by!
~Robi

Stickles and Stones may break some bones………….

Standard

http://cootable, tr, td, li, p, div {font-family:Papyrus; color:000000; font-size:15px;}.btext {font-family:Papyrus; color:000000; font-size:15px;}.blacktext10 {font-family:Papyrus; color:000000; font-size:15px;}.blacktext12 {font-family:Papyrus; color:000000; font-size:15px;}.lightbluetext8 {font-family:Papyrus; color:000000; font-size:15px;}.orangetext15 {font-family:Papyrus; color:000000; font-size:15px;}.redtext {font-family:Papyrus; color:000000; font-size:15px;}.redbtext {font-family:Papyrus; color:000000; font-size:15px;}.text {font-family:Papyrus; color:000000; font-size:15px;}.whitetext12 {font-family:Papyrus; color:000000; font-size:15px;}a:active, a:visited, a:link {font-family:Papyrus; color:000000; font-size:15px;}a:hover {font-family:Papyrus; color:000000; font-size:15px;}a.navbar:active, a.navbar:visited, a.navbar:link {font-family:Papyrus; color:000000; font-size:15px;}a.navbar:hover {font-family:Papyrus; color:000000; font-size:15px;}a.redlink:active, a.redlink:visited, a.redlink:link {font-family:Papyrus; color:000000; font-size:15px;}a.redlink:hover {font-family:Papyrus; color:000000; font-size:15px;}.nametext {font-family:Papyrus; color:000000; font-size:15px;} Once again, I must thank Tiffany Windsor who inspired this project.  Thanks Tiffany!
You can also buy the Sakura 3D Lacquer from her shop!

My new best friend comes in many colours. Stickles are my ‘buddy du jour’ and I kept the bottles out all day.  You won’t believe what I did with it.


First of all I used them to help decorate some stones. Just about everything went into decorating those stones: nail polish,3D Lacquer, Stickles, Decocolor Markers, Telephone Wire, silver wire and Adirondack Copper Fixative.


There are about 4 layers applied to this piece.  I started with writing with the Decocolor Markers – which are fabulous and dry very quickly, 
Next, a layer of Sakura’s 3D Lacquer. Once dry, some more markers.and another layer of lacquer. Then I applied little, cut pieces of coloured telephone wire, Stickles, and followed with another layer of lacquer.

The 3D affect is beautiful.  Once curred, I will either silver wire wrap it for a pendant, or attach it to a piece of metal and create an embellishment to top off a wood gift box I’m working on.

The glass stones in their native habitat
My pretty Stickles


Several decorated stones

Why am I showing a ring???  Because Stickles came to the rescue!

Stickles to the rescue!  I love this ring that we bought on a cruise. 3 of the side facets of flat opals fell out, leaving ugly black spaces where they once shone. It’s a beautiful tanzanite and diamond ring, but was unwearable with the missing pieces.
While working with my beloved Stickles I discovered that the green and aqua Stickles closely resembled the colours of the missing opals. It’s a little more shiny than the actual opal, so I am going to add a thin layer of matte ‘gloss’.  I am very happy with the results and that I can wear my ring again!

To be honest, I know my mom, if she were here, would plutz if she saw that I added glitter glue to that ring! 🙂

Happy Crafting!